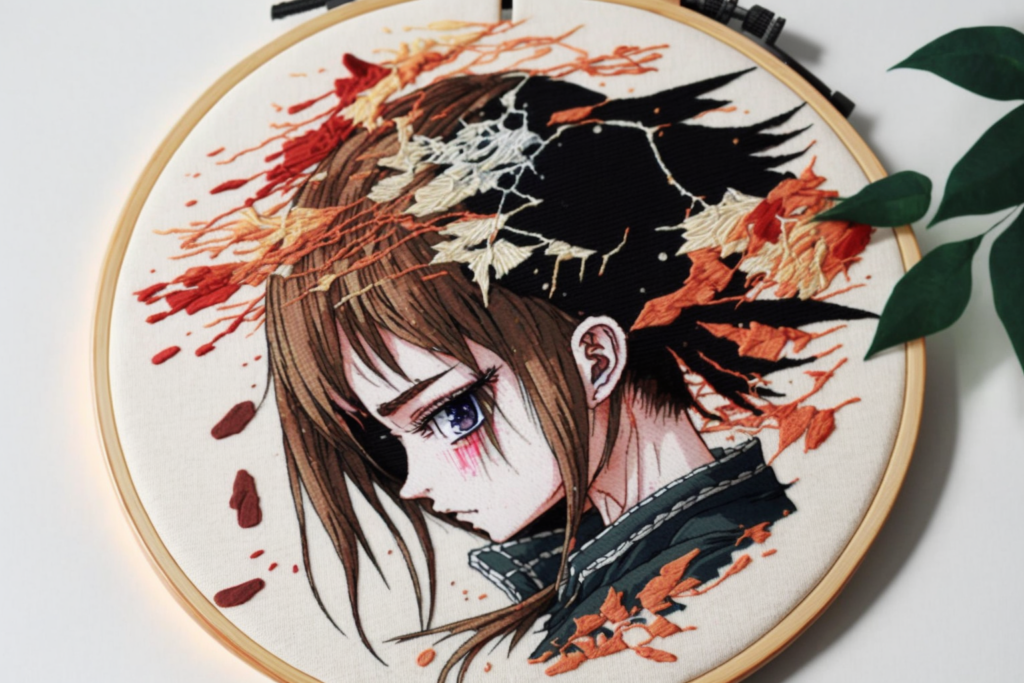
Anime embroidery has become increasingly popular among fans as a way to express their love for their favorite characters and series. While there are many pre-made designs available for purchase, creating your own custom embroidery designs through digitizing can add a unique and personal touch to your clothing and accessories. In this article, we’ll explore how to digitize and make your own anime embroidery designs using digital tools.
Understanding the Basics of Embroidery Design:
Embroidery design involves creating a digital file that can be read by an embroidery machine to stitch a design onto fabric. There are various digital tools available to create these designs, including software programs such as Wilcom, Embird, and Hatch. These programs allow you to create designs using various tools such as drawing tools, shape tools, and lettering tools. Once you’ve created your design, you’ll need to save it in a file format that your embroidery machine can read.
Choosing Your Anime Design:
When choosing an anime design for your embroidery project, it’s important to consider the complexity of the design. Complex designs with many colors and intricate details may be difficult to digitize and stitch out. It’s best to start with a simple design with few colors and work your way up to more complex designs as you become more comfortable with the digitizing process.
Digitizing Your Anime Design:
To digitize your anime design, you’ll need to import your design into your embroidery software program. From there, you can use the various tools available to digitize your design. This process involves assigning stitch types and densities to different parts of your design to ensure that it stitches out correctly. It’s important to note that digitizing can be a time-consuming process, but the end result is a custom embroidery design that is unique to you.
Stitching Out Your Design:
Once you’ve digitized your design, it’s time to stitch it out. To do this, you’ll need an embroidery machine that is compatible with the file format of your design. Make sure to choose the appropriate thread colors for your design and test stitch it out on a scrap piece of fabric before stitching it on your final project. This will allow you to make any necessary adjustments before stitching out the final design.
Finishing Your Embroidery Project:
Once you’ve stitched out your design, it’s important to properly finish your embroidery project. This involves trimming any excess threads and stabilizer and ironing your embroidery to remove any wrinkles. You can then sew your embroidery onto your desired clothing or accessory to complete your project.
Conclusion:
Creating your own anime embroidery designs using digital tools is a fun and rewarding way to personalize your clothing and accessories. While the digitizing process can be time-consuming, the end result is a custom design that is unique to you. So why not give it a try and create your own custom anime embroidery design today?
Leave a Reply